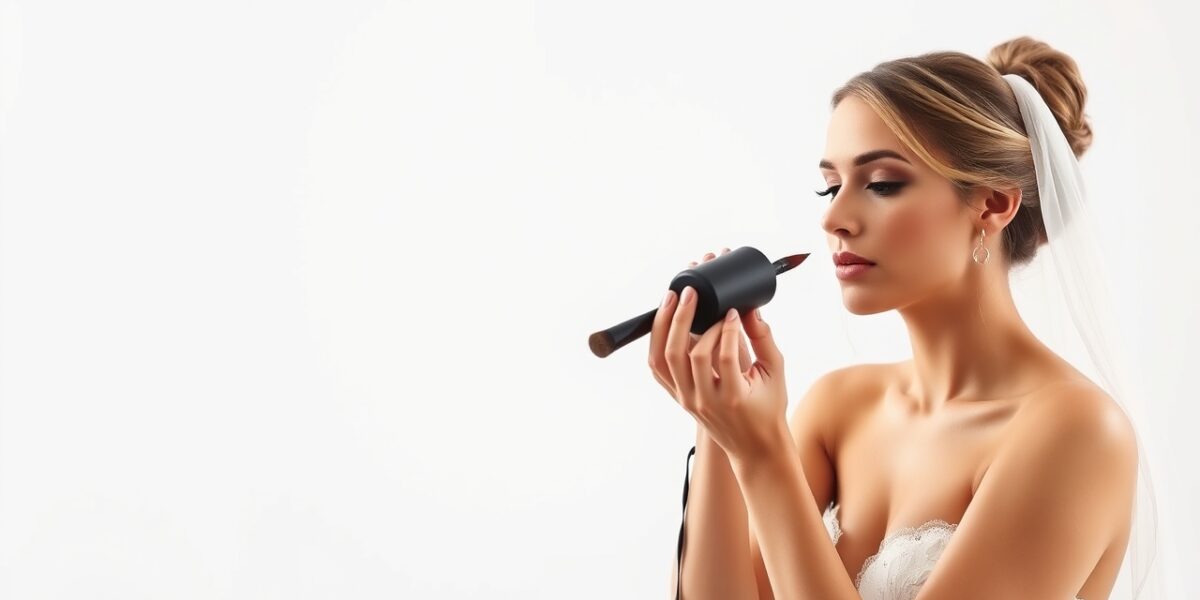
Bridal makeup for beginners can feel like a daunting task, but with a clear plan, it becomes a joyful ritual rather than a source of stress. I’ve spent years watching brides and professional makeup artists transform skin, and my goal is to share the most reliable, beginner-friendly steps that work for any skin type or tone. The journey starts with meticulous preparation, moves through strategic layers of coverage, and finishes with a professional-grade setting process that ensures your look lasts from the first photo to the final dance.
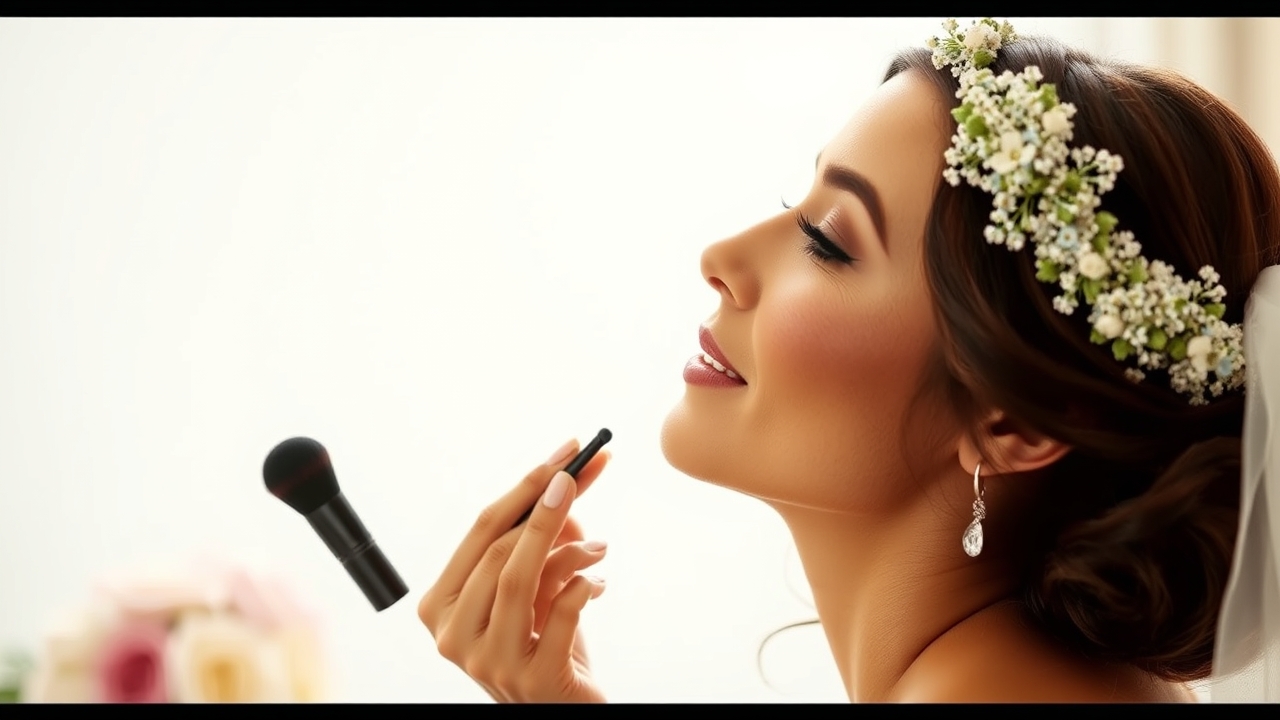
Bridal Makeup for Beginners: A Simple Step-by-Step Guide
Before you even pick up a brush, consider the foundation of the day: your skin’s health and your desired aesthetic. Whether you want a “no-makeup” makeup look or a classic Hollywood glam, the process remains the same. Below is a comprehensive flow that keeps the process organized, ensuring you feel confident even if this is your first time applying a full face of makeup.
Step 1: Prep Your Skin for Maximum Radiance
Professional bridal makeup is 70% skin preparation. If the canvas is uneven or dehydrated, the makeup will cling to dry patches or slide off oily areas.



- Cleanse and Hydrate: Start with a gentle, non-stripping cleanser to remove surface oils. Follow with a lightweight, hyaluronic acid-based moisturizer. If you have dry skin, a richer cream prevents the foundation from looking “cakey.” For oily skin, a water-based gel moisturizer is best.
- The Power of Priming: A primer acts as a barrier between your skin and the makeup. For beginners, choose a primer based on your primary concern: silicone-based for filling pores and smoothing texture, illuminating for a glowy finish, or mattifying for the T-zone.
- Eye Prep: Don’t forget the eyelids. A tiny dab of eyeshadow primer or concealer set with powder prevents creases and ensures your eyeshadow colors pop.
- Address Imperfections: Spot-treat any active blemishes with a color corrector (green for redness) before moving to foundation. Blend with a damp brush to keep the layer thin.
Step 2: Foundation and Concealer for a Flawless Base
The goal for bridal makeup is a look that photographs beautifully without looking like a mask in person. This requires a balance of coverage and transparency.
- Choosing Your Shade: Never test foundation on your wrist. Apply three stripes of potential shades from your jawline down onto your neck. The shade that “disappears” into both areas is your perfect match. For bridal looks, a medium-coverage, buildable foundation is the safest bet for beginners.
- Application Technique: Use a damp beauty sponge. Bounce the sponge across your skin—do not swipe. This “stippling” motion presses the product into the skin for a seamless, airbrushed finish.
- The Neck Blend: To avoid the dreaded “mask line,” blend your foundation well past the jawline and down the neck. This ensures a cohesive look under bright wedding lights.
- Strategic Concealing: Apply concealer in an inverted triangle under the eyes to brighten the face. Use a smaller brush to dab concealer on redness around the nose or on blemishes. Pat gently with your ring finger to blend.
Step 3: Eyes – Creating Timeless Dimension
Eyes are the focal point of bridal photography. The key is to build color slowly so you can blend it out easily.
- The Transition Shade: Start with a neutral matte shade (like a soft taupe, peach, or light brown) in the crease of the eye. Use a fluffy blending brush to move the color in windshield-wiper motions. This creates a smooth gradient.
- Adding Depth: Apply a slightly darker shade to the outer “V” of the eyelid. This adds dimension and makes the eyes look more open and defined.
- The Lid Pop: Apply a shimmering champagne or soft gold shadow to the center of the lid using your finger for maximum pigment payoff.
- Precision Lining: For beginners, a dark brown gel pencil is more forgiving than liquid liner. Draw a thin line as close to the lashes as possible. If you make a mistake, use a cotton swab dipped in moisturizer to clean the edge.
- Lash Enhancement: Curl your lashes first. Apply a volumizing mascara, wiggling the wand at the root and pulling upward. Let the first coat dry for 30 seconds before applying a second coat to prevent clumping.
Easy Wedding Makeup Tips for the Natural Glow
If you are aiming for a softer, more ethereal look, focus on these subtle enhancements:
- Balanced Brows: Brows frame the face. Instead of drawing a heavy line, use a brow pencil to create tiny, hair-like strokes in the gaps. Set them with a clear brow gel to keep them in place all day.
- Inner Corner Highlight: A tiny dot of shimmering white or pearl shadow in the inner corners of the eyes instantly makes you look more awake and refreshed.
- Soft Focus: Skip the heavy black eyeliner and use a dark brown eyeshadow smudged along the lash line for a romantic, diffused effect.
Step 4: Cheeks – Warmth, Shape, and Light
Cheeks add the “life” back into the face after foundation has neutralized your natural tones.
- Blush Placement: Select a blush that mimics your natural flush. Warm peaches work well for golden undertones, while soft roses suit cooler skin. Apply to the apples of the cheeks and blend upward toward the temples to create a lifting effect.
- Subtle Contouring: For beginners, a light dusting of matte bronzer under the cheekbones and along the hairline adds warmth and structure without the risk of harsh streaks.
- The Luminous Touch: Apply highlighter to the high points of the face: the tops of the cheekbones, the bridge of the nose, and the cupid’s bow. Choose a powder highlighter for a subtle glow or a liquid one for a “dewy” look.
Step 5: Lips – The Perfect Pout
Bridal lips need to be kiss-proof and smudge-proof, but not drying.
- Hydration First: Apply a lip balm 20 minutes before you start your makeup. Blot off the excess before applying lipstick so the color adheres properly.
- Defining the Shape: Use a lip liner that is one shade darker than your lipstick. Outline the lips carefully, then fill in the corners of the mouth to prevent the lipstick from “bleeding” or feathering.
- Color Application: A soft pink, mauve, or “your lips but better” nude is universally flattering. Apply the lipstick, blot with a tissue, and apply a second layer for longevity.
- The Finishing Shine: A touch of clear gloss in the center of the lower lip creates a fuller, more hydrated appearance.
Step 6: Set and Seal for 12-Hour Wear
The difference between amateur and professional makeup is the setting process. This ensures your hard work doesn’t melt away during the ceremony.
- Targeted Powdering: Use a translucent setting powder. Instead of powdering the whole face (which can look flat), focus only on the T-zone (forehead, nose, and chin) to control shine.
- The Final Seal: Close your eyes and mist a long-wear setting spray in an “X” and “T” motion across your face. This bonds the layers of makeup together and prevents transfer onto your dress or your partner’s shoulder.
- The Emergency Kit: Pack a small clutch with your lipstick, a few blotting papers, and a travel-sized powder. This allows for quick touch-ups without needing to redo the entire look.
DIY Bridal Makeup: Advanced Tips for the Beginner Bride
To ensure your wedding day is stress-free, follow these expert-level preparation tips:
- The “Trial Run”: Do a full dress rehearsal of your makeup at least two weeks before the wedding. Take photos in both indoor and outdoor lighting to see how the colors translate.
- Lighting Matters: Always apply your makeup in the brightest light possible—ideally natural sunlight. Makeup that looks great in a dim bathroom often looks patchy or too heavy in the sun.
- Less is More: It is much easier to add more product than it is to remove it. Build your coverage in thin layers to avoid the “cakey” look.
- Weather Adaptation: If your wedding is outdoors in humidity, swap your cream products for long-wear powders. If it’s a winter wedding, increase your hydration layers to prevent skin from cracking.
Why Understanding Makeup Matters: A Quick Look at the Science of Beauty
Makeup is more than just art; it’s a combination of chemistry and color theory. Understanding how different pigments interact with skin undertones is what separates a basic look from a professional one. For those curious about the deeper principles behind cosmetic formulation and the history of beauty, the Wikipedia page on Makeup offers a concise overview of the techniques that have shaped modern bridal beauty.
Final Thoughts: Embrace Your Own Style
When you approach bridal makeup for beginners, remember that the ultimate goal is to enhance your own natural beauty, not to hide it. The steps provided here are a professional framework, but you should feel free to tweak them to suit your personality. Whether you prefer a bold red lip or a completely nude palette, the most beautiful bride is one who feels like herself. Keep your tools clean, your skin hydrated, and your confidence high. With a little practice, you’ll find that every step becomes second nature.
Internal Connection
For more inspiration, wedding planning checklists, and detailed beauty guides, visit mybridaltimes.com where we share everyday tips for brides and makeup enthusiasts alike.
Frequently Asked Questions
Q1: Bridal makeup for beginners – what’s the most essential product to start with?
A1: If you can only invest in a few things, prioritize a high-quality primer and a medium-coverage foundation. These two products create the essential base that ensures the rest of your makeup stays in place and looks smooth throughout the day.
Q2: How can I keep my makeup fresh during a long wedding day without it looking cakey?
A2: Avoid adding more powder throughout the day, as this can lead to buildup. Instead, use blotting papers to remove excess oil and a refreshing mist of setting spray to “wake up” the makeup and keep it looking dewy.
Q3: Is it okay to use the same makeup for a rehearsal dinner?
A3: Absolutely. In fact, it’s highly recommended. Use the rehearsal dinner as a final “live test” of your wedding look. You can apply a slightly lighter version to see how the products wear over several hours.
Q4: What are the best ways to prevent makeup from melting or sliding in hot, humid weather?
A4: Switch to oil-free, matte products. Use a gripping primer, set your foundation with a translucent powder, and finish with a waterproof setting spray. Avoid heavy creams and opt for long-wear liquid formulas.
Q5: How can beginners achieve a simple bridal look that still feels polished and professional?
A5: The secret is in the blending. Focus on a flawless, well-hydrated base, use neutral eyeshadows with a soft transition, and keep the lips and cheeks in the same color family (e.g., peach cheeks with a peach-nude lip). This creates a harmonious, polished appearance that looks effortless.
Leave a Reply