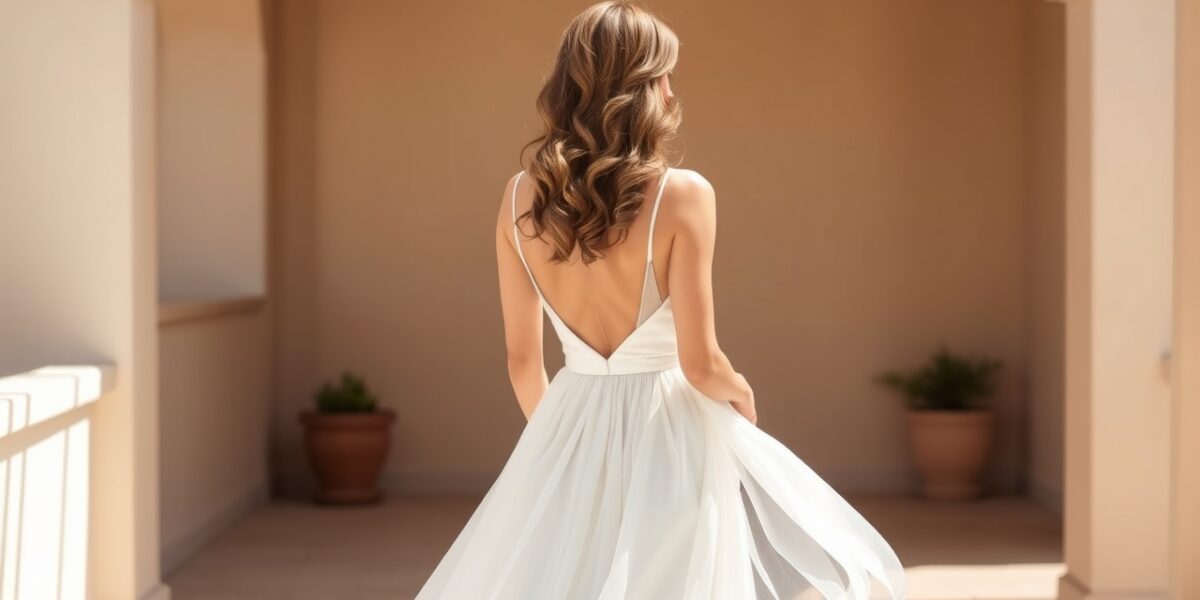
Choosing a wedding dress that flatters your body can feel like a treasure hunt—there’s a world of styles, fabrics, and cuts to sift through, and the stakes are high. But with a clear roadmap, you can turn the search into a confident, enjoyable journey. Below is a step‑by‑step guide that answers the core question: how to choose a wedding dress for your body type—and more.
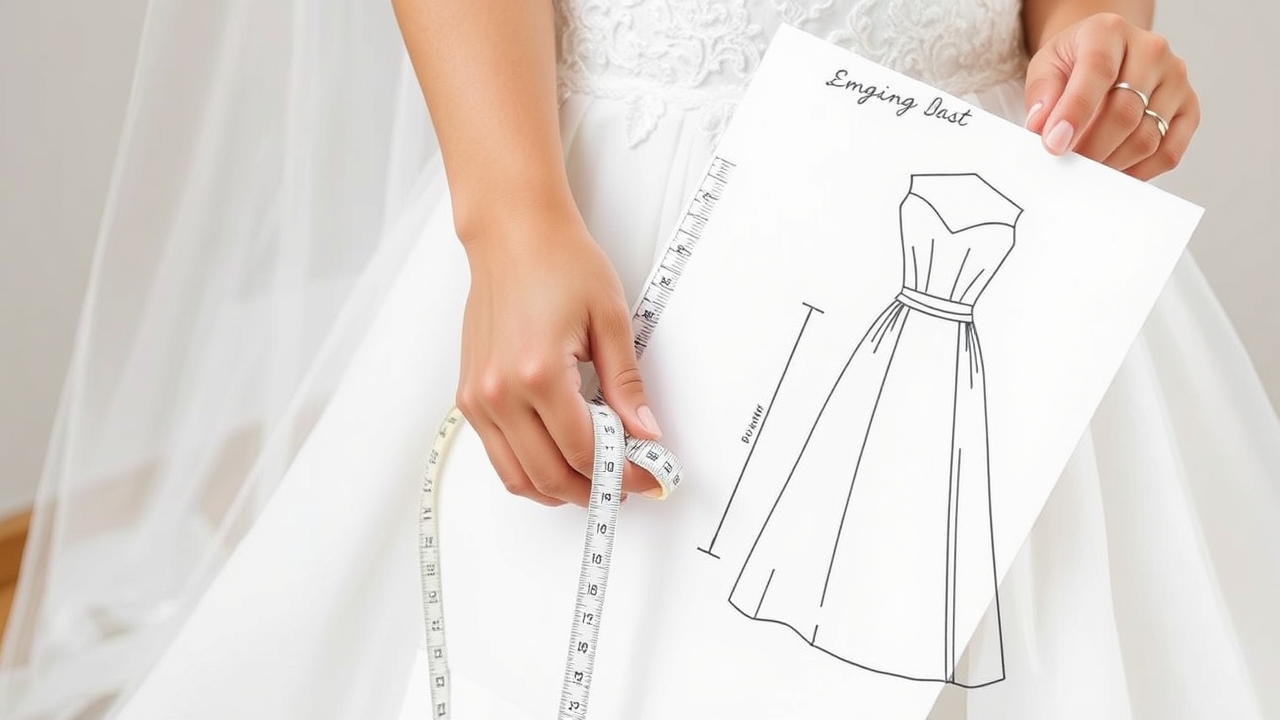
1. Pinpoint Your Body Shape
Before you even step into a boutique, take a moment to understand your proportions. The most common classifications are apple, pear, hourglass, and rectangle, but many brides fall somewhere between these categories. Here’s how to spot each one:
- Apple: A fuller bust and mid‑riffle, a less defined waist, and shoulders that sit at or above the bust line.
- Pear: A slimmer upper body, a prominent bust, and hips that extend past the shoulders.
- Hourglass: A balanced bust and hips with a waist that drops noticeably.
- Rectangle: A relatively straight silhouette where shoulders, waist, and hips are similar in width.
Use a soft measuring tape to capture bust, waist, and hip measurements. Compare the ratios—if the waist is 20% smaller than the bust or hips, you’re likely an hourglass; if the waist is only 5% smaller, you may be rectangle. A quick mirror test works too: stand straight, and look for where the waist naturally falls. A trusted friend or a bridal stylist can offer an objective assessment, too.



2. Match Silhouette to Shape
Once you know your shape, you can narrow down silhouettes that will accentuate your best features. Below is a streamlined cheat sheet that ties each silhouette to the body types that thrive in them.
Empire Waist
Starts just below the bust, creating a high waistline. Ideal for apple and pear shapes because it elongates the torso and draws the eye upward. Think of a gentle, airy line that keeps the lower half relaxed.
A‑Line
Fitted at the bodice and gently flaring to the floor. The A‑line is a universal winner—especially for rectangle and hourglass figures—because it adds volume to the lower body without overwhelming the upper half.
Ball Gown
Heavy gathering around the skirt gives the ball gown a dramatic, vintage feel. Pear‑shaped brides love it for the balance it offers between a narrower upper body and a fuller lower one.
Sheath
Runs straight from neck to hem, hugging the body. It’s a natural fit for hourglass figures, showcasing a defined waist. Apple brides can also rock a sheath if they pair it with a supportive understructure or underwire.
Mermaid
Fitted through the bodice and hips, then flaring at the knees. The mermaid silhouette is a showstopper for pear and hourglass shapes, accentuating curves while keeping the line sleek.
Remember, fabric choice can turn a silhouette from flattering to fabulous. Lightweight silk or chiffon will flow differently than heavier satin or tulle, so always feel the material before committing.
3. Dive Into Fabric and Detail
Fabric is the invisible hand that shapes your dress. Light, breathable fabrics like silk chiffon or organza are perfect for warm climates or outdoor ceremonies, while satin and tulle add a touch of opulence for indoor, formal weddings. Consider these nuances:
- Silk chiffon: Delicate, translucent, and excellent for an ethereal look.
- Organza: Stiff, crisp, and great for structured silhouettes like the ball gown.
- Satin: Smooth, reflective, and a classic choice for a timeless vibe.
- Tulle: Light and airy—ideal for layered skirts.
Details such as lace appliqués, beading, or a subtle veil can add dimension without altering the silhouette. For example, a lace bodice on an A‑line dress can give a romantic touch, while a beaded neckline on a sheath can elevate the look for evening events.
4. The Practical Checklist
- Start Early: Begin the search 12–18 months before the wedding. Early starts mean more time for fittings and adjustments.
- Get Accurate Measurements: Use a soft tape measure. Record bust, waist, hips, and dress length. A professional measurement session can avoid costly mistakes.
- Photograph Yourself: Take side, front, and ¾‑angle shots in natural light. Compare how various silhouettes look against your body shape.
- Consult a Stylist: A bridal stylist brings a fresh perspective and can pinpoint styles that suit your shape.
- Try Multiple Silhouettes: Even if you’re leaning toward an A‑line, sample a mermaid and a sheath to confirm comfort and confidence.
- Test the Fabric: Walk, sit, and turn in the dress. Notice how the material behaves—does it cling, flow, or shift?
- Plan for Accessories: Veils, headpieces, and façades can change the visual balance. Think about how they’ll interact with the dress before finalizing.
5. Collaborate with Your Designer or Seamstress
Once you’ve chosen a silhouette, the next step is to translate vision into reality. Here’s how to keep the process smooth:
- Share Reference Images: Bring photos of the style, neckline, and detailing you love. Visuals help the tailor understand your aesthetic.
- Discuss Fabric Options: Talk about weight, drape, and color. A light organza may look great in a photo but feel uncomfortable in a real setting.
- Schedule Multiple Fittings: A typical timeline includes an initial fitting, a second for adjustments, and a final fitting two weeks before the wedding.
- Clarify Alterations: Confirm how many changes are included and what extra costs may arise.
- Keep Communication Open: If a detail feels off—be it a seam or a lace placement—address it early to avoid last‑minute surprises.
Trust the professional’s expertise, but never hesitate to voice your comfort and preferences.
6. Final Touches Before the Big Day
The dress is only part of the equation. Here are essential steps to ensure everything stays perfect on your wedding day:
- Pack a Backup: Bring a spare bra, safety pins, a small sewing kit, and a mirror.
- Schedule a Pre‑Wedding Check: Have a final walk‑through with the designer to confirm the dress’s condition.
- Consider a Gown Liner: A lightweight liner can add structure and reduce fabric shift.
- Plan for Comfort: Choose shoes that match the dress’s heel height and allow you to move freely.
- Relax and Breathe: The most important part of the day is how you feel, not how the dress looks.
When you step into the venue, a quick mirror check will reassure you that everything still fits the way you imagined.
7. Resources for Further Inspiration
For more in‑depth guidance on fabric selection, check out our bridal fabric guide. If you’re looking for venue inspiration, my Bridal Times offers a wealth of planning tips. And for a deeper dive into wedding dress history and styles, see Wikipedia’s Wedding Dress page.
Frequently Asked Questions
How do I determine my body shape if I’m unsure?
Start by measuring bust, waist, and hips. Compare the ratios: if the waist is roughly 20% smaller than the bust or hips, you’re likely an hourglass. If the waist is only 5% smaller, you’re probably rectangle. A mirror test or a stylist’s assessment can confirm.
What if my favorite style doesn’t match my body type?
With thoughtful tailoring—adding a belt, adjusting the waistline, or choosing a different fabric—you can make most styles work. A skilled seamstress can adapt a silhouette to fit your proportions.
How many fittings should I schedule?
Three fittings are standard: the first for the initial try‑on, the second for major adjustments, and the third a week before the wedding. Additional fittings may be needed if significant changes are required.
Can I alter a dress after the wedding?
Yes, many designers offer post‑wedding alterations. Discuss this early to avoid extra costs and to ensure the dress can be transformed into a keepsake.
What should I do if the dress feels uncomfortable during fittings?
Speak up immediately. Comfort is paramount—if a dress causes discomfort, consider alternative styles or adjustments. The goal is to feel confident and at ease on your big day.
Leave a Reply