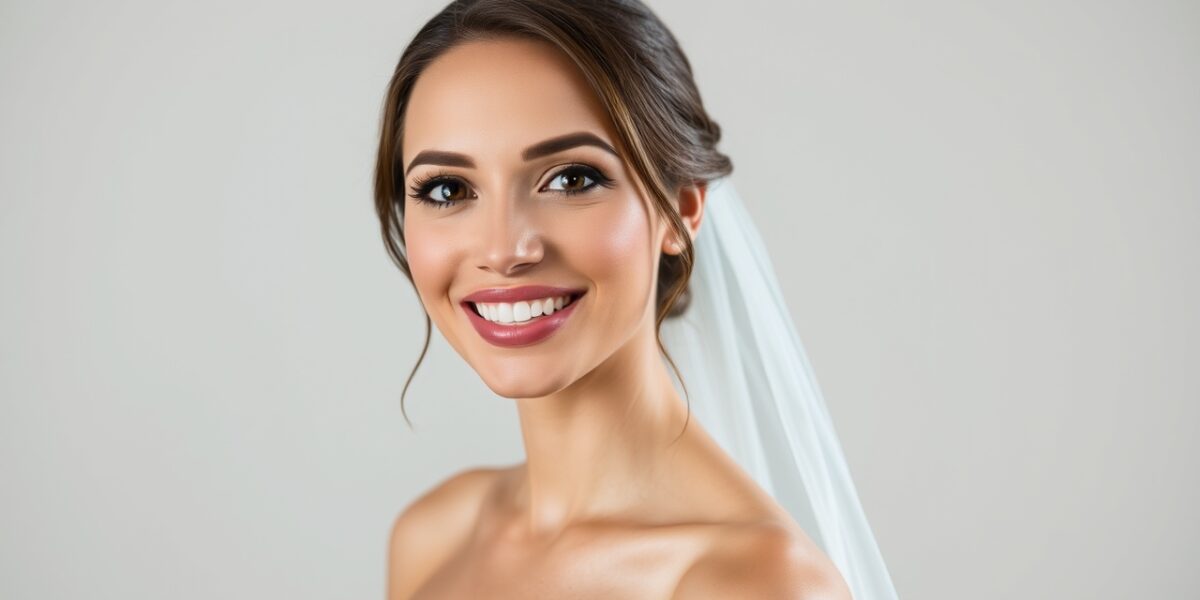
Bridal makeup for beginners is the foundation of a radiant wedding day look. It begins with understanding your skin type and the subtle nuances that can influence how products sit on your face.
Understanding Your Skin Type and Color
Knowing whether you have oily, dry, combination, or sensitive skin helps you pick the right base. If you’re unsure, a quick test can reveal the answer: place a clean paper towel on your forehead, nose, and chin for 15 minutes. If it shows oil in the T‑zone but stays dry elsewhere, you likely have combination skin.
A second factor is your skin undertone—cool, warm, or neutral. Warm undertones glow with gold or bronze hues, while cool tones shine with rose or pink. Neutral undertones can comfortably wear both. Use a simple mirror test: hold a white sheet next to your face and observe which undertone the skin seems to match.



Once you know your type and tone, you can tailor the makeup routine. For instance, oily skin benefits from a mattifying primer, while dry skin may prefer a hydrating one. For a deeper dive into makeup fundamentals, check out the Makeup page on Wikipedia.
Building a Baseline: Clean, Moisturize, Prime
Every flawless look starts with a clean canvas. Use a gentle cleanser suitable for your skin type, followed by a lightweight moisturizer. For beginners, a 2‑in‑1 cleanser‑moisturizer combo works wonders.
After moisturizing, apply a primer that matches your skin concerns. A silicone‑based primer smooths pores and keeps foundation in place, while a hydrating primer adds a dewy finish. For a subtle glow, opt for a primer with a hint of shimmer.
Once the primer sets, you’re ready for foundation. For beginners, choose a formula that offers medium coverage and a natural finish. A liquid or stick foundation can be blended with a damp sponge or brush for an even look.
For a more detailed guide on primers and foundations, visit My Bridal Times where we break down each step.
Foundation and Concealer Basics
Apply foundation in a thin layer, building coverage gradually. Start at the center of your face and blend outward. This technique ensures a flawless, seamless finish.
Concealer is your secret weapon for dark circles, blemishes, or redness. Pick a shade that matches your foundation, then dab gently with a fingertip or small brush. Blend with a stippling technique—small, upward strokes—to avoid a cakey look.
Set the base with a translucent setting powder. A light dusting on the T‑zone prevents shine without flattening the natural glow. For beginners, a small, fluffy brush works best for a dusting effect.
Eyes: A Simple, Elegant Look
Eyebrows
Well‑defined eyebrows frame the face. Use a brow pencil or powder that matches your natural brow color. Lightly fill in sparse areas, then brush upward for a natural arch.
Eyeshadow
Choose a neutral palette—soft taupe, champagne, or light beige. Apply the lightest shade over the lid, a medium tone in the crease, and a slightly darker shade along the outer corner for depth. For beginners, a single‑color look is both chic and easy.
Eyeliner
A thin line along the lash line adds definition without overpowering. For a subtle wing, start from the inner corner and extend a few millimeters outward, then connect back to the center.
Mascara
Apply two coats of mascara—one for length and one for volume. Focus on the outer lashes for a natural lift. Avoid clumping by using a spoolie brush between coats.
Cheeks and Lips
Blush
Apply blush to the apples of the cheeks, blending diagonally toward the temples. A soft pink or peach shade adds a healthy flush.
Bronzer
A light dusting of bronzer on the hollows of the cheeks, jawline, and temples gives a sun‑kissed glow. For beginners, a matte bronzer keeps the look subtle.
Lips
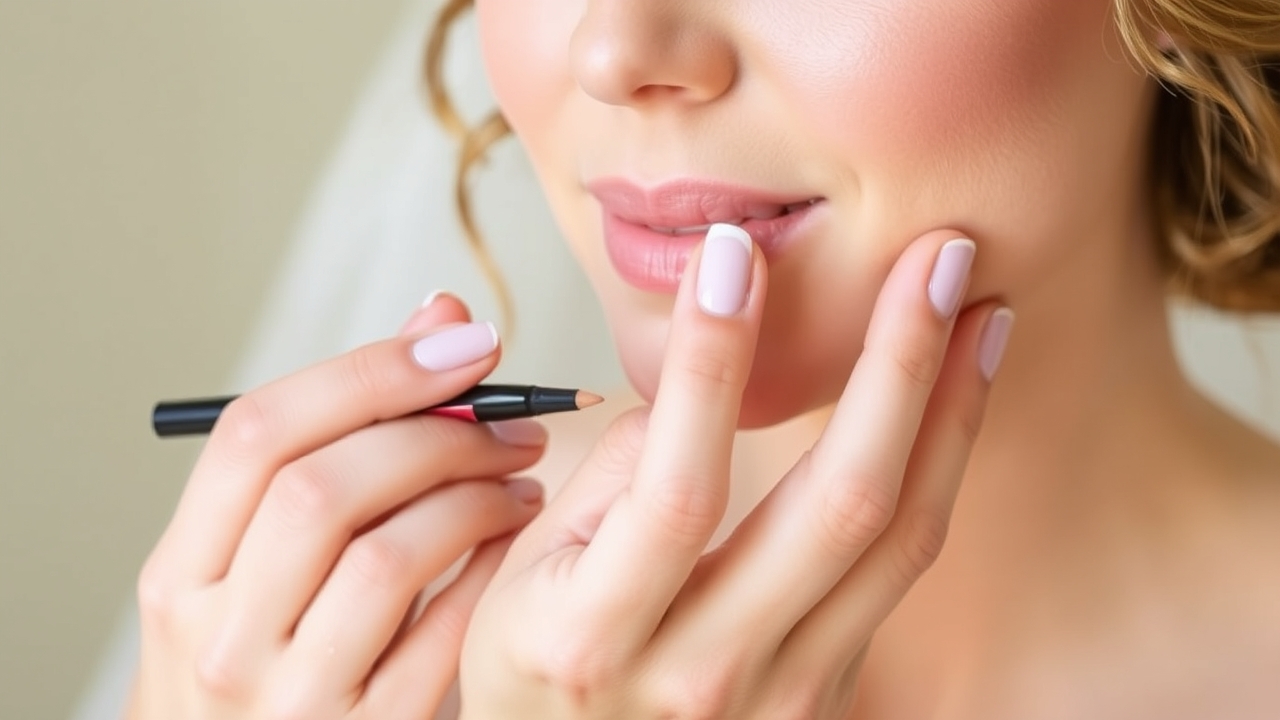
Choose a lip color that complements your overall look. A sheer lip gloss adds shine, while a tinted balm offers hydration and a hint of color. For a timeless finish, a soft rose shade works well.
Setting and Finishing Touches
After completing the face, use a setting spray to lock everything in place. A mist sprayed from a distance keeps the look fresh for hours.
Don’t forget a touch of highlighter on the high points—cheekbones, brow bone, cupid’s bow—to catch the light. For beginners, a subtle shimmer ensures the look isn’t too dramatic.
Practice Routine and Timing
Schedule a trial run at least two weeks before the wedding. This allows you to adjust products and techniques. Time the session to match the wedding day schedule—usually 2–3 hours before the ceremony.
During the trial, photograph yourself in natural light to evaluate how the makeup holds up. Make notes on areas that need more coverage or less product.
Common Beginner Mistakes to Avoid
1. Over‑applying foundation: Start thin and build up. 2. Using the wrong concealer shade: Test on a small patch. 3. Skipping primer: It’s the key to longevity. 4. Applying too much powder: A light dusting is enough.
By avoiding these pitfalls, you’ll keep the look fresh and natural.
Tools & Brushes You’ll Need
Investing in a few high‑quality tools can make a huge difference. Here’s a quick list of essentials:
- Beauty Sponge: Ideal for blending foundation and concealer for a seamless finish.
- Foundation Brush: A dense, flat brush works well for liquid foundations; a stippling brush for powder.
- Blush Brush: A small, fluffy brush for precise blush application.
- Eyeshadow Palette Brush Set: A flat brush for base, a blending brush for crease, and a small angled brush for detail.
- Eyeliner Pencil or Gel: Choose a formula that’s easy to control for beginners.
- Mascara Wand: Look for one with a curved brush for natural lift.
- Setting Powder Brush: A fluffy brush for a light dusting.
- Highlighter Brush: A small, tapered brush for precise highlights.
Tip: Clean your brushes after every use to avoid bacterial buildup and maintain product integrity.
Choosing the Right Foundation Shade
Finding the perfect match can feel daunting. Here’s a quick method:
- Test the foundation on your jawline, not your hand.
- Apply a small amount and let it set for a minute.
- Look in natural light; the shade should blend into the skin without a visible line.
- Consider a “match to your skin tone” shade if you have a neutral undertone.
Remember, a slightly lighter shade works well for the T‑zone to prevent a greasy look, while a slightly darker shade can be used for contouring.
Enhancing Natural Features
Bridal makeup should accentuate rather than mask. Keep these principles in mind:
- Highlight the bridge of your nose and the center of your forehead for a subtle lift.
- Use a light bronzer to define cheekbones without adding heaviness.
- Choose a lip color that’s just a shade or two darker than your natural lip tint.
Setting & Longevity: Keeping the Look Fresh
Longevity is key for a long day. Follow these steps:
- After setting powder, apply a setting spray every 30 minutes.
- Carry blotting papers to control shine during the ceremony.
- Use a translucent powder on the T‑zone only; avoid over‑powdering the cheeks.
- Reapply eyeliner and mascara if you notice smudging.
Post‑Wedding Care
After the festivities, a gentle cleanse is essential:
- Use a makeup-removing balm followed by a cleansing micellar water.
- Hydrate with a nourishing night cream.
- Give your skin a week of rest before applying any new products.
Real Wedding Stories
Many brides share that a simple, well‑planned routine made their day stress‑free. One bride, Emily, used a lightweight foundation and a single‑color eyeshadow palette, which she could touch up quickly in the bridal suite. Another, Jasmine, opted for a tinted lip balm that stayed moist even during a hot summer ceremony.
These stories highlight that the most important factor is confidence—knowing your routine and products will help you shine.
FAQ
- What’s the most important step in bridal makeup for beginners? Preparation—cleaning, moisturizing, and priming—creates a stable base that keeps all products in place.
- How can I make my foundation last all day? Use a mattifying primer, apply foundation in thin layers, set with translucent powder, and finish with a setting spray.
- What’s the best way to keep my eye makeup fresh? Apply a thin eyeliner and two layers of mascara, then set with a light mist of spray and blot any excess shine.
- Can I use the same makeup for a rehearsal dinner? Yes, but adjust intensity—lighter coverage for daytime events and fuller for the ceremony.
- Do I need a makeup artist? If you’re comfortable with the steps, a DIY approach works. For extra confidence, consider a trial session with a professional.
Leave a Reply