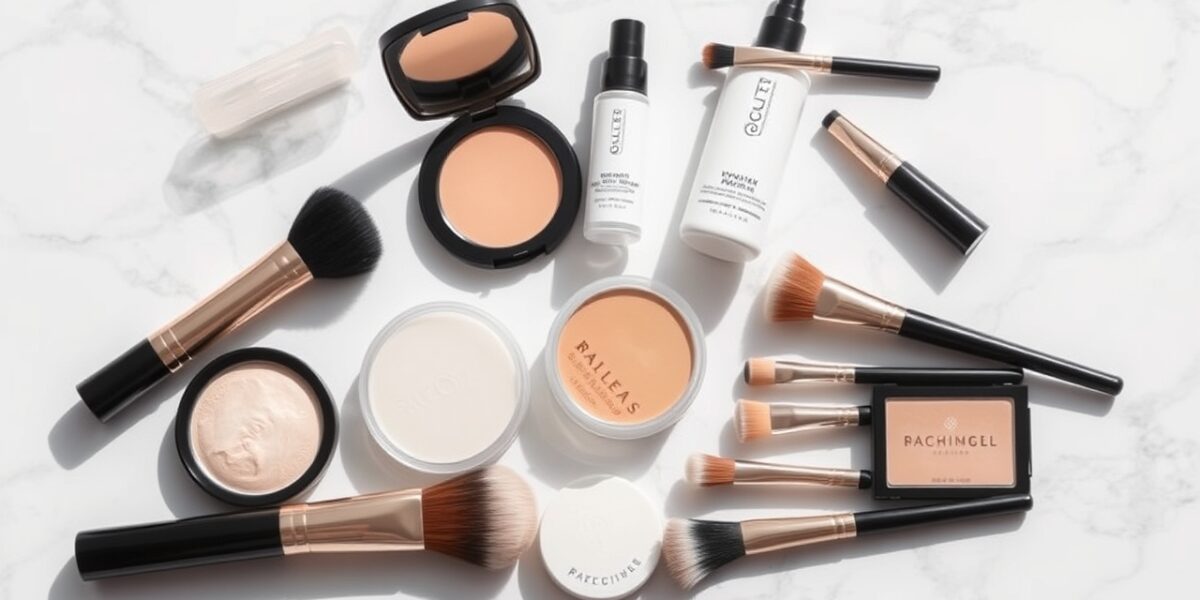
Bridal makeup for oily skin demands a routine that tames excess sebum while keeping the complexion fresh and camera‑ready. Too often brides think a heavier foundation will hold up longer, but on oily skin it’s the opposite: a thin, well‑layered base that lets the skin breathe is the secret to staying matte all day.
The Foundation of Shine‑Free Wedding Makeup
Before a single drop of foundation touches your face, you must address the skin’s surface. Oily skin is the result of overactive sebaceous glands, not a flaw in your beauty routine. The goal is to create a barrier that locks in the product without trapping oil. Think of it as a breathable mattress that keeps your skin comfortable.
The Pre‑Wedding Skincare Routine
Begin your oil‑control regimen at least three months before the big day. A gentle salicylic acid cleanser—such as Paula’s Choice 2% BHA Liquid Exfoliant—clears pores and reduces sebum production. Use it twice daily, morning and night, to keep the surface smooth. In the two weeks leading up to the wedding, avoid harsh chemical peels or strong retinoids; they can cause irritation that leads to more oil.



Hydration is a common misstep. Skipping moisturizer because your skin feels greasy will backfire: the skin compensates by producing even more oil. Choose a lightweight, oil‑free gel moisturizer like La Roche‑Posay Toleriane Hydrating Gentle Gel or Neutrogena Hydro Boost Water Gel. These products deliver hyaluronic acid for plumpness without adding grease.
Step‑by‑Step Guide to Bridal Makeup for Oily Skin
Consistency is key. To achieve a look that lasts 12+ hours, follow a strict order of operations. Mixing oil‑based and water‑based products can cause pilling—small, unsightly clumps that logically roll off the skin. Keep the layers compatible.
1. The Strategic Priming Phase
Priming is the most critical step for oily skin. Rather than covering the entire face, use a zone‑priming technique. Apply a mattifying, pore‑blurring primer—such as Benefit B Face Primer—to the T‑zone (forehead, nose, chin). For the cheeks, a hydrating or “gripping” primer like Smashbox Photo Finish Primer prevents the foundation from looking flat.
Press the primer into the skin instead of rubbing it. This technique fills in pores and creates a smoother canvas. Let the primer set for 2–3 minutes before moving on; applying foundation immediately can disturb the primer and cause sliding.
2. Choosing the Right Foundation
When selecting a foundation for oily skin, look for labels that read “oil‑free,” “long‑wear,” or “matte.” Avoid anything that mentions “dewy,” “luminous,” or “glowy,” as these often contain oils or light‑reflecting particles that can make oily skin look greasy within hours.
Opt for a medium‑to‑full coverage liquid matte foundation. Popular options include Dermablend Matte Foundation and Smashbox Photo Finish Foundation. Apply it with a damp beauty sponge—like the Real Techniques Miracle Sponge—using a stippling motion. Avoid dragging the sponge across the skin, which can disturb the primer. Start with a thin layer and build coverage only where needed. Over‑applying foundation is the fastest route to a cakey appearance that cracks as the day progresses.
3. Concealing and Correcting
Use a high‑pigment, matte concealer for blemishes and under‑eyes. For oily skin, it’s vital to set the concealer immediately after blending. If you let concealer sit on oily skin without powder, it’s more likely to crease in the fine lines around the eyes.
Advanced Techniques for Oily‑Skin Brides
Once the base is on, the real work begins to ensure it stays put. Professional artists use several “insurance policies” to prevent shine.
The “Baking” Method
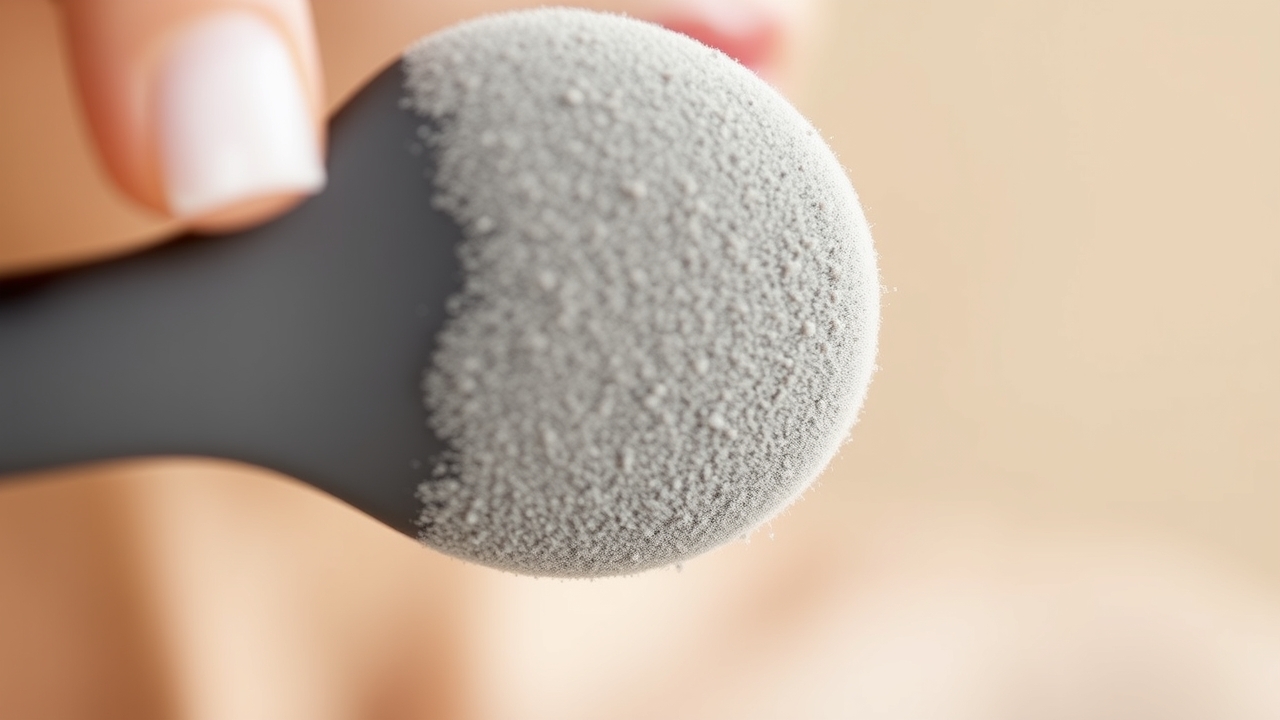
Baking involves applying a thick layer of translucent loose powder—such as Laura Mercier Translucent Loose Powder—to the areas most prone to oiliness, letting it sit for 5–10 minutes, and then dusting it off. The heat from your skin “bakes” the foundation and concealer into place. For brides, a light bake is best; heavy baking can leave a powdered look in high‑resolution photography.
The Power of Setting Sprays
Not all setting sprays are created equal. For oily skin, you need a “fixing” spray rather than a “setting” spray. A setting spray blends the layers of makeup together for a natural look, whereas a fixing spray contains polymers that create a waterproof, smudge‑proof seal over the makeup.
Apply the fixing spray in a “T” and “X” motion across the face. For extreme oiliness, some artists apply a layer of spray between the primer and foundation, and again at the very end. This sandwich effect traps oil underneath the first layer of spray and prevents external moisture from breaking down the makeup.
Managing Shine Throughout the Wedding Day
Even with the best application, some oil breakthrough is natural. How you handle that oil determines whether your makeup stays intact or disappears.
Blotting vs. Powdering
Never apply more powder directly onto oily skin without blotting first. If you put powder on top of oil, you create a thick, muddy paste that will eventually cake and crack. Instead, use linen or rice paper blotting sheets—brands like Garnier SkinActive Oil‑Absorbing Sheets or Revlon Oil‑Control Blotting Sheets. Gently press the sheet onto the shiny area to lift the oil. Once the surface is matte, lightly dust a translucent powder over the area if necessary.
The Bridal Touch‑Up Kit
Your maid of honor or bridal attendant should carry a small kit for you. This kit should include:
- Blotting papers (oil‑absorbing sheets)
- A small brush with a colorless translucent powder
- The specific lipstick or gloss used for the day
- A travel‑sized version of your fixing spray
- A spare foundation‑sponge or small compact of powder for on‑the‑go touch‑ups
Common Mistakes to Avoid
Many brides fall into traps that actually increase oil production or degrade their makeup. Avoid these pitfalls:
- Over‑powdering: While a matte finish is the goal, too much powder can make the skin look dry and artificial in photos. Focus the powder on the T‑zone and keep the perimeter of the face lighter.
- Using Heavy Creams: Avoid heavy, oil‑based creams on the wedding morning. Stick to water‑based serums and gels.
- Touching the Face: Your hands carry natural oils and bacteria. Every time you touch your face, you transfer oil to your makeup, breaking down the matte seal.
- Skipping Primer: Primer is the foundation of a long‑lasting look. Skipping it is a fast track to shine.
For more inspiration on completing your wedding look, you can explore our guides on wedding style and beauty to ensure your hair and accessories complement your makeup.
The Role of Diet and Lifestyle
While makeup does the heavy lifting, your internal state affects your skin. High‑glycemic foods and excessive dairy can trigger sebum production in some people. While you don’t need a restrictive diet right before your wedding, staying hydrated with water and limiting high‑sugar snacks in the final week can help keep your skin balanced. For a deeper understanding of how skin types function, you can refer to the scientific definition of sebum and its effects on the dermis.
Dealing with Wedding Day Stress
Stress triggers cortisol, which can amplify oil production. Many brides notice their skin becomes oilier on the actual wedding day than it was during the trial. Incorporating deep breathing or a calming morning routine—such as the 4‑7‑8 technique or a short guided meditation—can help your makeup stay matte by keeping your hormone levels stable.
Summary Checklist for a Matte Finish
To recap, here is the definitive sequence for achieving long‑lasting bridal makeup for oily skin:
- Cleanse with a gentle, oil‑control cleanser.
- Apply a lightweight, oil‑free gel moisturizer.
- Apply a mattifying primer to the T‑zone only.
- Use a matte, long‑wear liquid foundation, applied with a sponge.
- Conceal and immediately set with translucent powder.
- Bake the high‑shine areas for 5 minutes.
- Finish with a polymer‑based fixing spray.
- Blot first, then powder during touch‑ups.
- Carry a bridal touch‑up kit for on‑the‑go adjustments.
Frequently Asked Questions
How do I stop my bridal makeup for oily skin from looking cakey?
The key is thin layers. Instead of one thick layer of foundation, apply two very thin layers, building coverage only where you have redness or blemishes. Always use a damp sponge to press the product into the skin, and ensure you are hydrating your skin with a gel moisturizer before starting. Cakeyness usually happens when the skin is dehydrated or when too much powder is applied over oil.
Can I use a luminous foundation if I have oily skin?
It is risky. If you love a glow, I suggest using a matte foundation and adding a very small amount of liquid highlighter only to the high points of your cheeks. Avoid putting any luminous products on your forehead, nose, or chin, as these areas will naturally become “luminous” as the day progresses.
Should I get a professional facial before my wedding?
Yes, but time it correctly. A professional facial can help deep‑clean pores and regulate oil, but you should have your last facial at least 7–10 days before the wedding. This allows any redness or “purging” (where the skin pushes out impurities) to settle before the big day.
What is the difference between a setting powder and a setting spray?
Setting powder is used to lock liquid products in place and remove shine. Setting spray is a liquid mist that can either blend the makeup for a natural finish or create a waterproof seal (fixing spray) to prevent the makeup from transferring or sliding off the skin.
Will a matte finish look flat in wedding photos?
Not if you balance it. A completely flat matte face can look one‑dimensional. To avoid this, use a matte base but add a touch of cream blush to the apples of your cheeks and a subtle shimmer to your eyelids. This creates a healthy, bridal look without the greasy shine in the T‑zone.
Leave a Reply